If you’re upgrading to a gas range, adding a gas dryer, hooking up a backyard grill, or installing a whole-house generator, one question comes up more than any other: what actually happens during a gas appliance installation?
Tampa homeowners often assume it’s as simple as running a line and connecting the appliance. In reality, a proper gas appliance installation involves code compliance, pressure testing, and safety verification – steps that protect your home, your family, and your utility coverage. Here’s a full walkthrough of what to expect, from the first phone call to the final safety check.
Why Gas Appliance Installation Isn’t a DIY Job
Natural gas and propane systems operate under pressure, and even a small installation error – a loose fitting, an undersized line, or a missed shutoff valve – can lead to a leak. Unlike a dripping faucet, a gas leak isn’t always obvious. It can build up quietly behind a wall or under a slab before anyone notices the smell.
That’s why most Tampa municipalities require a licensed, insured technician to pull a permit for any new gas appliance hookup, and why insurance companies frequently deny claims tied to unpermitted gas work. A professional appliance hook-up service isn’t just about convenience – it’s about making sure the installation meets Florida gas code from day one.
Step 1: Initial Assessment and Load Calculation
Every installation starts with an assessment of your existing gas system. A technician will look at:
- Current gas line capacity – Can your existing line handle the additional BTU load of the new appliance, or does it need to be upsized?
- Distance from the meter – Longer runs may require larger pipe diameters to maintain proper pressure at the appliance.
- Existing appliance load – If you already run a water heater, furnace, and range off the same line, adding a generator or a second appliance can push the system past its rated capacity.
This step matters most when adding higher-demand equipment. Whole-home generators, for example, often require a dedicated line sized specifically for the unit’s fuel consumption – which is why generator hookups are typically assessed separately from smaller appliances. If you’re planning a backup power system, it’s worth having a technician evaluate your generator gas setup needs before the unit even arrives.
Step 2: Permitting
Once the scope of work is confirmed, your technician (or the company they work with) pulls the required permit from your local building department. This isn’t just paperwork – it triggers a mandatory inspection once the work is complete, which is your independent verification that the installation is safe. Skipping this step is one of the most common (and riskiest) shortcuts homeowners take when they hire unlicensed labor.
Step 3: Running or Modifying the Gas Line
With permits in hand, the technician runs new pipe or modifies the existing line to reach the appliance location. Depending on the job, this might include:
- Installing a new shutoff valve dedicated to the appliance
- Running flexible or rigid line through walls, attics, or under the home
- Transitioning from a larger supply line down to the appliance-rated size
- Sealing all penetrations where the line passes through framing or slab
This is also the stage where dryer installations diverge slightly from other appliances, since gas dryers need both a gas connection and proper venting. If you’re specifically installing a gas dryer, our dryer gas line installation guide covers the venting requirements in more detail.
Step 4: Pressure Testing
This is the step most homeowners never see – and it’s arguably the most important. Before any appliance is connected, the technician pressurizes the new line and monitors it for a set period (usually 10–15 minutes) to confirm there’s no drop in pressure. A drop means a leak somewhere in the new work, and it gets located and repaired before moving forward.
Skipping pressure testing is how “quick” installations turn into callback emergencies. Reputable Tampa installers won’t connect an appliance until the line has passed this test, full stop.
Step 5: Appliance Connection
With a tested, leak-free line in place, the appliance itself gets connected. This step looks different depending on what’s being installed:
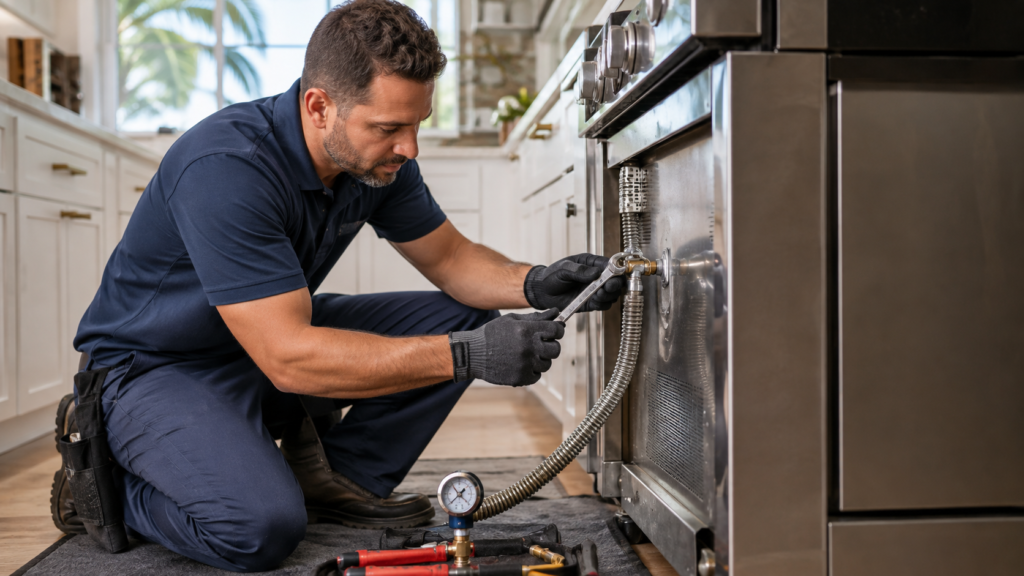
- Gas ranges and ovens typically use a flexible connector rated for the appliance, with a shutoff valve installed within reach.
- Gas dryers require both the gas connection and a properly vented exhaust line to prevent carbon monoxide buildup.
- Outdoor grills need weather-rated fittings and, in many cases, a dedicated quick-connect line if they’re tied into the home’s natural gas supply rather than a propane tank. If you’re planning a backyard hookup, our BBQ grill hookup service page walks through the difference between natural gas and propane setups.
- Water heaters need correctly sized venting in addition to the gas connection, especially for tank units installed in enclosed spaces. See our water heater installation page for what’s involved on that front.
Step 6: Leak Check and Final Safety Verification
Once the appliance is connected, the technician performs a second leak check – this time on the full system, including the new connection point. This is typically done with an electronic gas detector and a soap-and-water solution on every joint, checking for bubbles that indicate escaping gas. Only after this check comes back clean does the appliance get fired up and tested under normal operating conditions.
Step 7: Inspection and Sign-Off
For permitted work, a local inspector will review the installation before it’s considered complete. This is a good thing – it’s a second, independent set of eyes confirming the work meets code. Once it passes, you’ll have documentation on file that can matter for insurance, home resale, or warranty claims down the road.
How Long Does It Take?
For a straightforward single-appliance hookup – say, a gas range or a dryer – most installations are completed in half a day, assuming the existing gas line has enough capacity and no rerouting is needed. Jobs that involve running new line through walls or under the slab, or installing higher-demand equipment like a generator, can take a full day or longer. Permitting timelines vary by municipality and can add anywhere from a few days to a couple of weeks before work can start, so it’s worth building that into your timeline if you’re working around a renovation schedule.
What It Costs
Pricing depends heavily on the appliance, the length of line needed, and whether any upsizing is required. A simple dryer or range hookup on an existing line is typically the least expensive option, while generator installations and long line runs cost more due to the additional pipe, labor, and permitting involved. Getting a technician to assess your specific setup is the only reliable way to get an accurate number – anyone quoting a flat price without seeing your home is likely leaving out permit and materials costs.
Choosing the Right Installer
Not every handyman or general contractor is licensed to do gas work. When vetting an installer, ask directly:
- Are you licensed for gas line installation in this county?
- Will you pull the permit, or is that on me?
- Do you pressure test before connecting the appliance?
- What happens if the inspection doesn’t pass?
A technician who hesitates on any of these is worth passing on. If you’re in the Tampa Bay area, including neighborhoods like Hyde Park, where a lot of older homes have gas infrastructure that predates current code, it’s especially important to work with someone familiar with both modern requirements and older system quirks.
The Bottom Line
Gas appliance installation is one of those jobs where doing it right the first time isn’t optional – it’s the difference between a safe, reliable setup and a hidden hazard behind your wall. From load calculation through permitting, pressure testing, and final inspection, every step exists to catch problems before they become dangerous. If you’re planning to add or replace a gas appliance in your Tampa home, working with a licensed technician who follows this full process is the safest way to get it done.
Leave a Reply